
 Sign In

 Shop
Shop

 Academy
MacBook LCD Only Repair - Easy Fix with Air Slice Tool
So you have your MacBook screen damaged. What’s next? Actually, we can find repair guides on MacBook display replacement on different repairing website. As our previous blog: 5 Minutes Done – MacBook No Display Repair. The weird thing is that it is so popular for technicians to replace the whole display assembly instead of single display replacing. Why?
Actually, the replacement of a MacBook display is obviously more cost-effective than the replacement of the entire MacBook display assembly. However, here is the problem. Single display replacement can be really difficult and it requires professional skills of technicians.
Well, that’s what our blog today is talking about. Follow our repair guide and you can see how the technician removes the display with just two pieces of Air Slice instead of the use of a Hot Air Gun. Which can greatly reduce the difficulty of screen replacement? Hope we will enlighten you somehow in MacBook single display replacing.
Step 1 Fault Finding
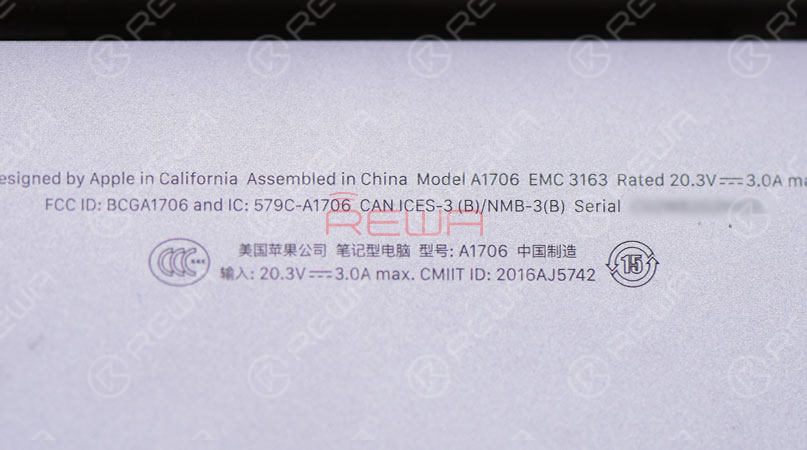
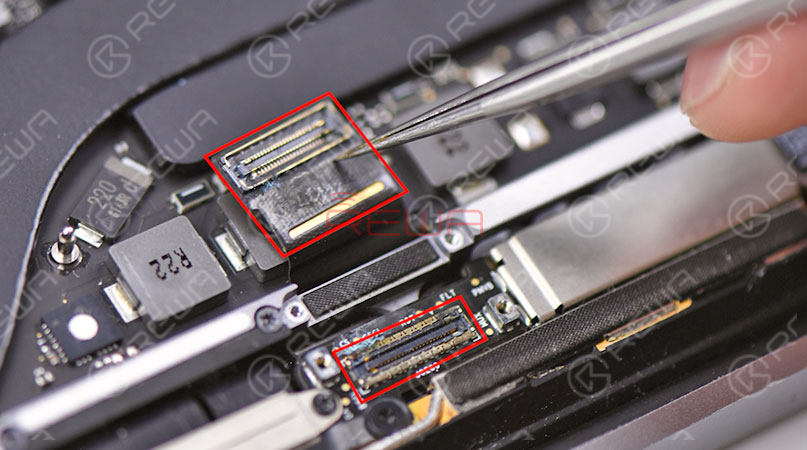
Press the power button. The MacBook won’t turn on. Confirm the model and year of release on the lower case. Then remove the lower case and disconnect the battery. Remove screws securing the display flex cable and disconnect the display flex cable.
We can see that the display flex cable and the display connector have been water damaged with corrosion. So we need to replace with a new display flex cable and a new display.
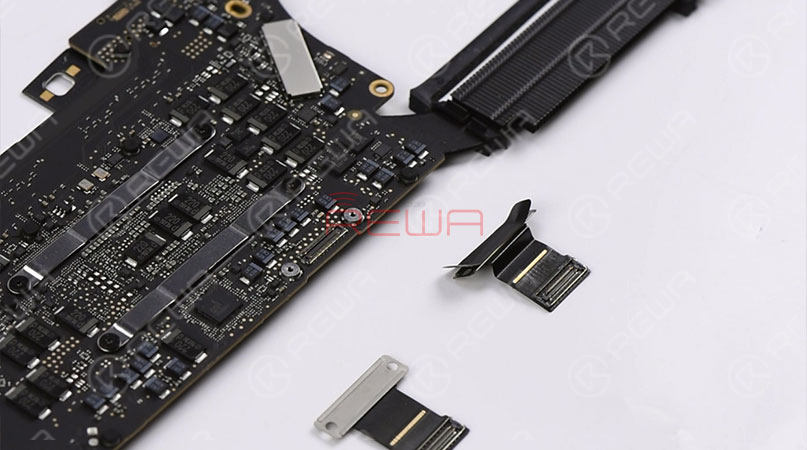
Step 2 Display Flex Cable Replacing
Remove screws securing the logic board and take out the logic board. Remove screws securing the display flex cable and replace with a new display flex cable. Once done, tighten screws securing the display flex cable. Get the logic board installed and secured with screws.
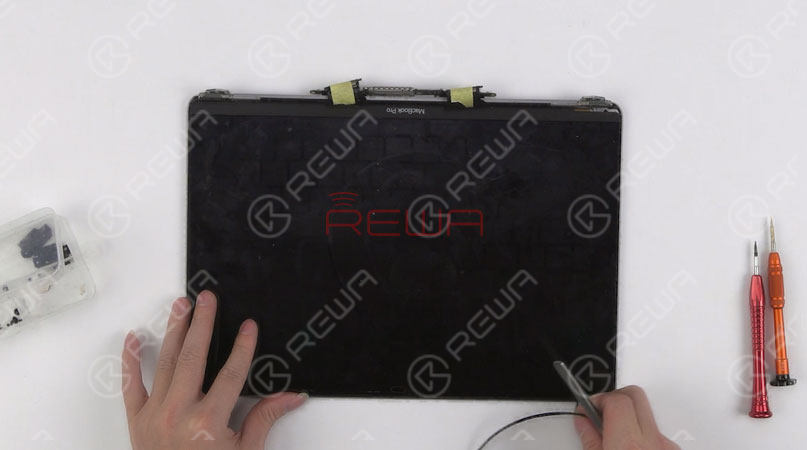
Step 3 Screen Separating
Continue to remove screws securing the screen. Then separate the display assembly from the bottom half keyboard.

Step 4 Screen Replacing
Now, let’s move on to display replacement. First, secure the backlight flex cable with sticker. Then remove the rubber gasket around edges of the screen.
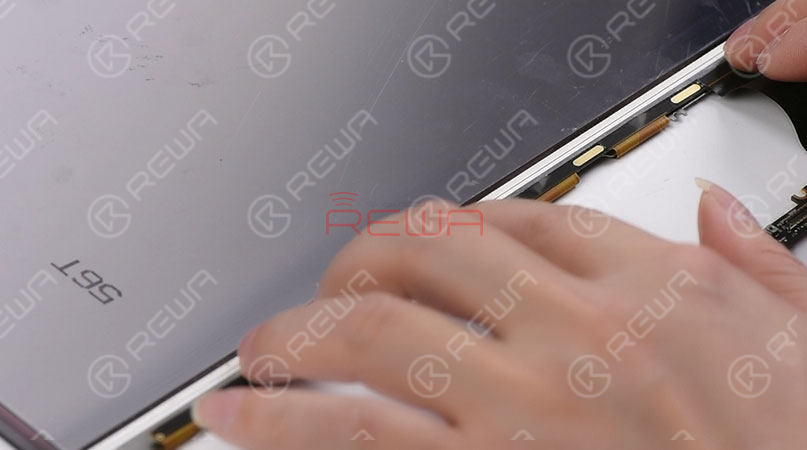
Here we will use a special MacBook screen separating tool - Air Slice to detach the display from the upper case.
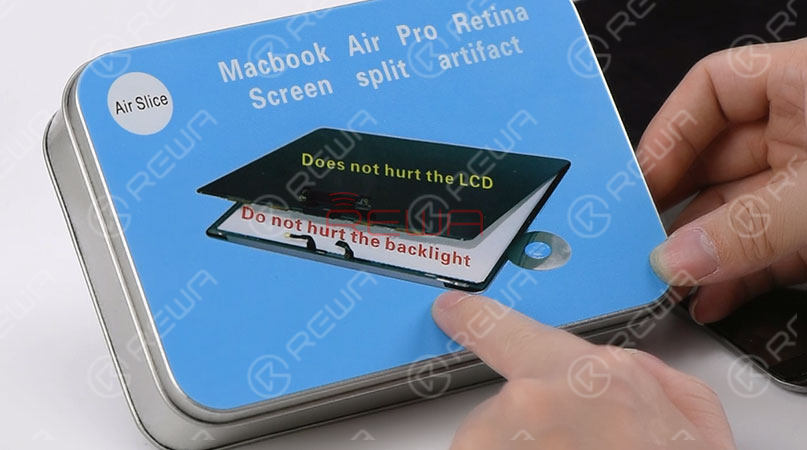
8 pieces of screen separating slice in 4 specifications 10 pieces of LOGO removing slice in the plastic box Take out a piece of LOGO removing slice. Dip some alcohol and then insert the slice under the LOGO strip. Slip back and forth to detach the LOGO strip. Continue to remove screws securing the screen iron bar. Remove the spring bar afterwards.
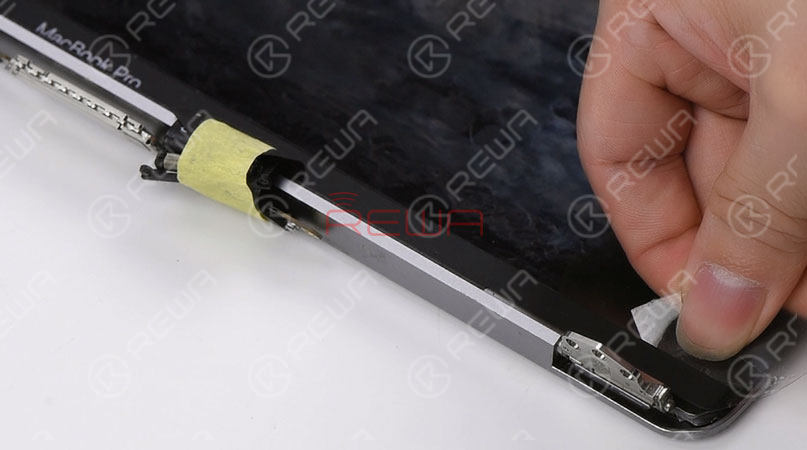
Take out a piece of screen separating slice of 0.05. Dip some alcohol first. Then insert the slice from the right bottom corner of the screen. Make sure the slice has been inserted under the screen iron bar. Slip the screen separating slice back and forth to detach the display from the upper case.
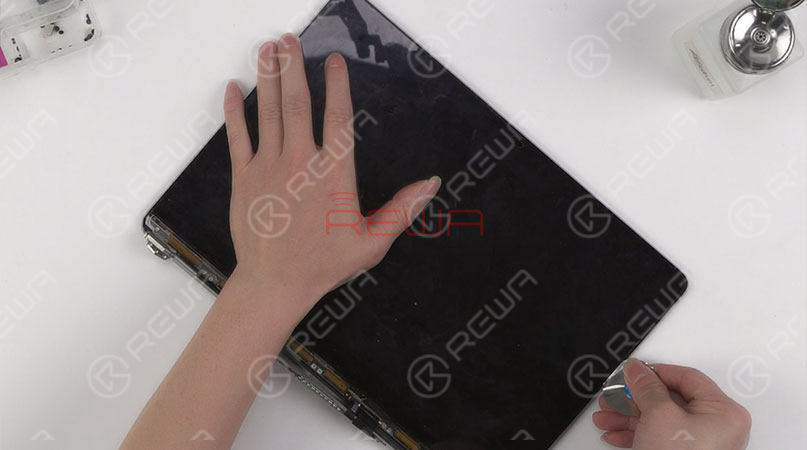
We can see that the display has not been damaged during the process.
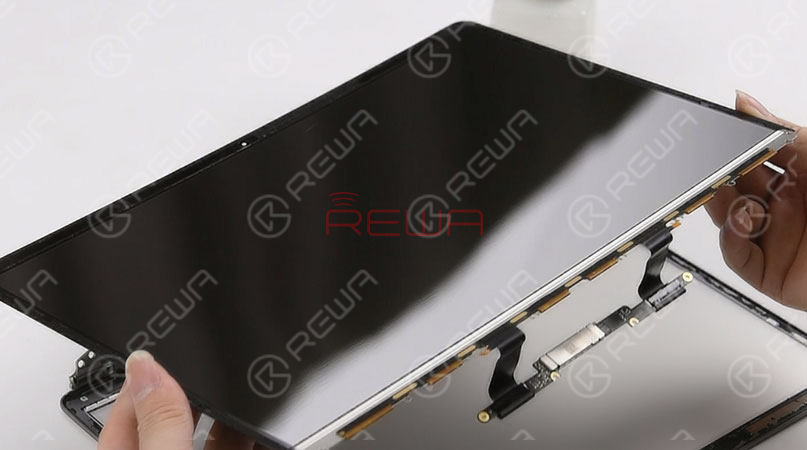
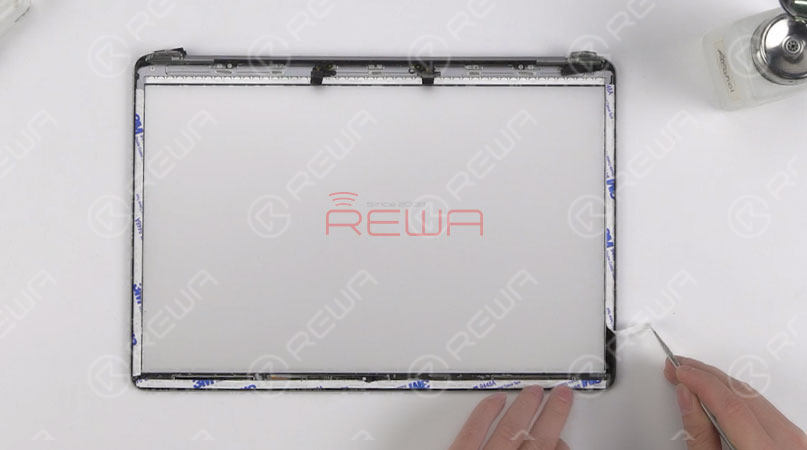
Dip some alcohol with the screen separating slice and then remove the iron bar securing the screen. Prepare a new A1706 display. Remove double-sided tape residue on the iron bar of the original screen first. Then stick new double-sided tape on the iron bar. Adhere the iron bar onto the new display. Then adhere the display flex cable onto the iron bar. Get the rubber gasket around edges of the screen set up.
Stick double-sided tape on three sides of the upper case. First, tear open the tape at the end and then remove dirty spots on the backlight paper. Tear off the protective film on the screen. Get the new display in position. Apply pressure to fit the display with the upper case. Meantime, tear off the protective layer of the double-sided tape. Make sure the display and the upper case fit perfectly.
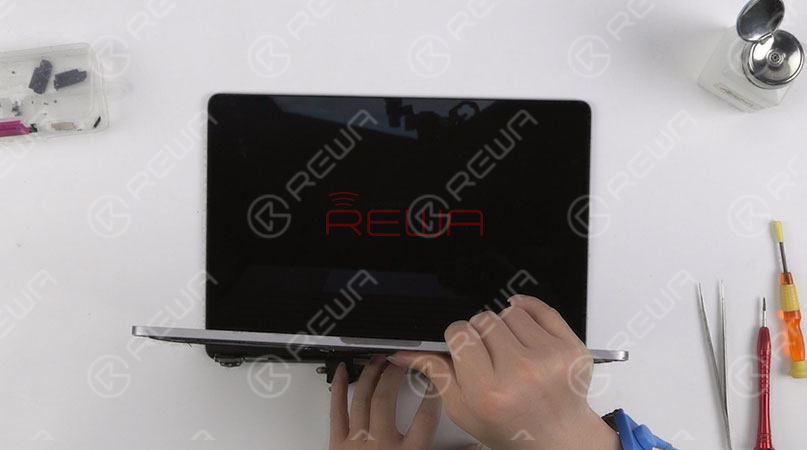
Step 4 Installation & Test
Once done, get the spring bar installed. Tighten screws securing the screen iron bar and then get the LOGO strip adhered. Get the display assembly and the bottom half keyboard assembled together. Continue to get the WiFi antenna installed and the display flex cable secured. Tighten screws securing the WiFi antenna and the screen. Once finished, connect the battery and get the lower case installed.
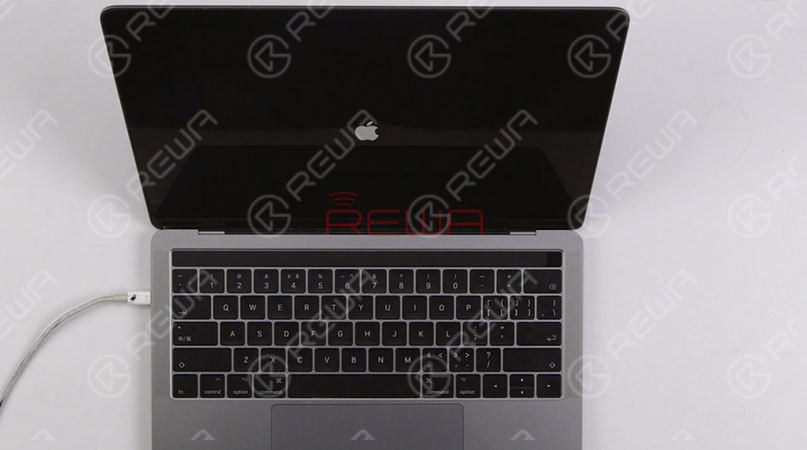
In the end, plug in the AC adapter and power on. The MacBook turns on normally. Keyboard and the trackpad also work normally.
For visualized understanding of MacBook single display replacing, please follow the video below. As for more repair video, just subscribe our YouTube channel here.
InREWA, everything comes after quality
Anti-static Wrist Strap
We're listening.
Have something to say about this article? Share it with us on ASK Forum, FaceBook, LinkedIn or our FaceBook group.


No Comments
0
0
Share
Apr 23, 2021
ABOUT REWA
REWA is a world leading electronics repair business solutions provider who was founded in 2008 in HongKong. We are committed to delivering one-stop services covering Sourcing Solution, Technical Support Solution as well as Recycle & Resell Solution.


