
 Sign In

 Shop
Shop

 Academy
How To Fix iPhone X Won't Turn On By Board Swap
Brief Introduction
This is a real-life repair case from REWA chip-level motherboard repair service. The iPhone X motherboard was severely damaged with a hole in the upper layer during the reassembling process, resulted in an iPhone X won’t turn on issue. Follow our guidance in the blog today and learn how to diagnose and troubleshoot the double-stacked motherboard step by step.
Diagnosing
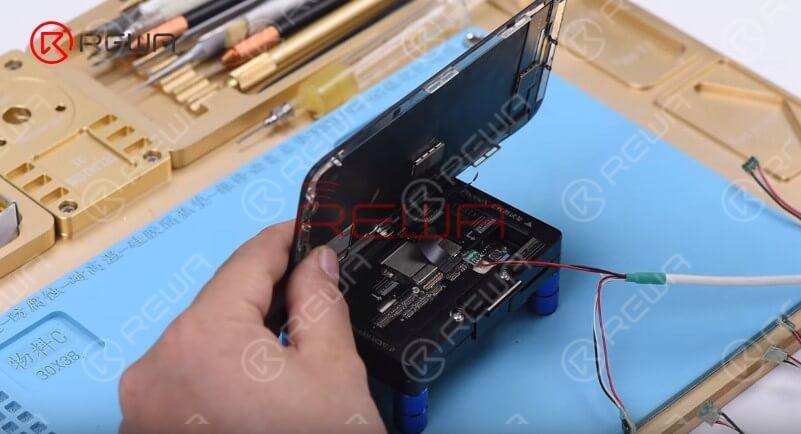
Here we have an iPhone X motherboard that won’t turn on. Run cosmetic inspection of the motherboard. The motherboard is not water damaged or deformed.
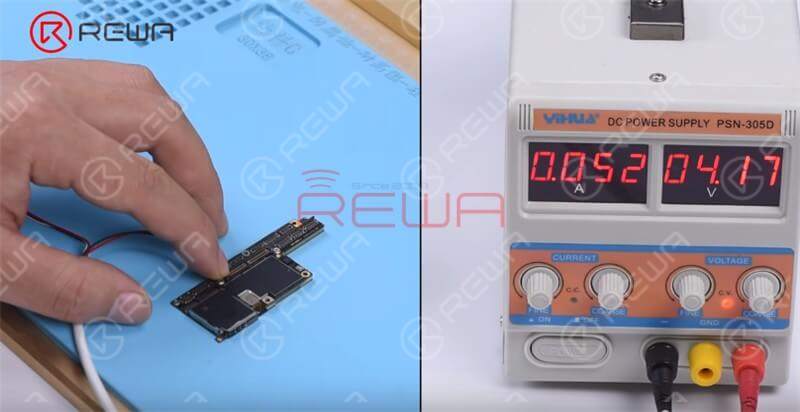
Connect the battery connector with the DC Power Supply and get the motherboard powered on with tweezers. The boot current reading is larger than normal value.
Judging by this, circuits on the motherboard might have shorted.
Disconnect the power supply. First, we need to remove the dustproof sponge on the motherboard. Then run diode mode measurement of the battery connector. The measured value of Pin 1 of the battery connector is 11, which is abnormal. Normal value should be 350 or so.
Continue measuring Pin 35 of the display connector J5700. The measured value is 12, which is also abnormal. Normal value should be 350 or so.
We can confirm now that the main power supply circuits of the motherboard have shorted or the motherboard is leaking electricity.
Troubleshooting
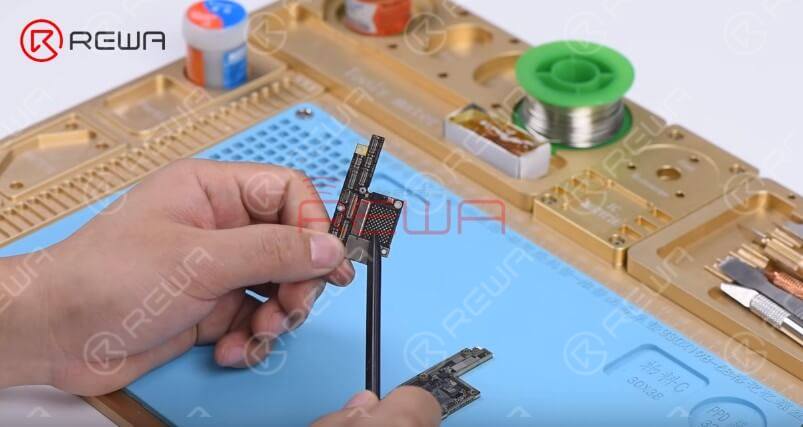
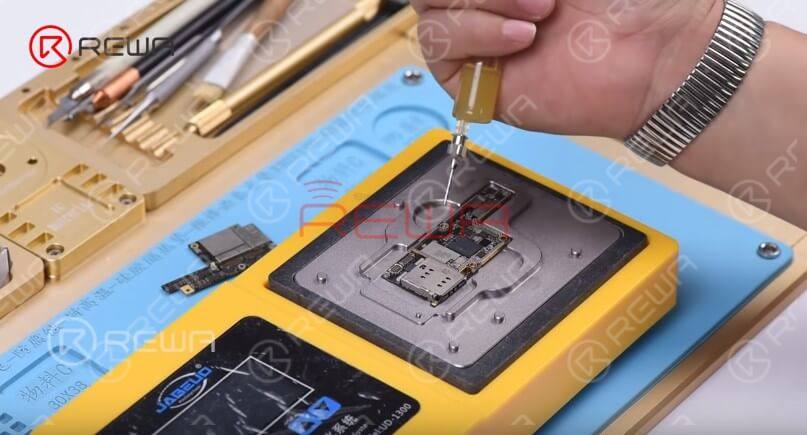
Next, we need to separate the motherboard to confirm whether the fault is related to the upper layer or the lower layer.
Put the motherboard on the Heating platform and set the temperature to a range from 150℃ to 160℃. With temperature of the platform reaching 137℃ and solder balls on the third space PCB starting to melt, try to pick up the upper layer with tweezers. Then pick up the lower layer.
Check the upper layer under the microscope. We can see clearly that the charging IC U3300 is damaged.
Apply some paste flux to the charging IC. Heat with the QUICK 861D Helical Wind Hot Air Gun at 380℃, airflow 45 to remove the charging IC. Clean the bonding pad afterwards.
We can see that the PCB has also been severely damaged. There is a large hole in the upper layer.
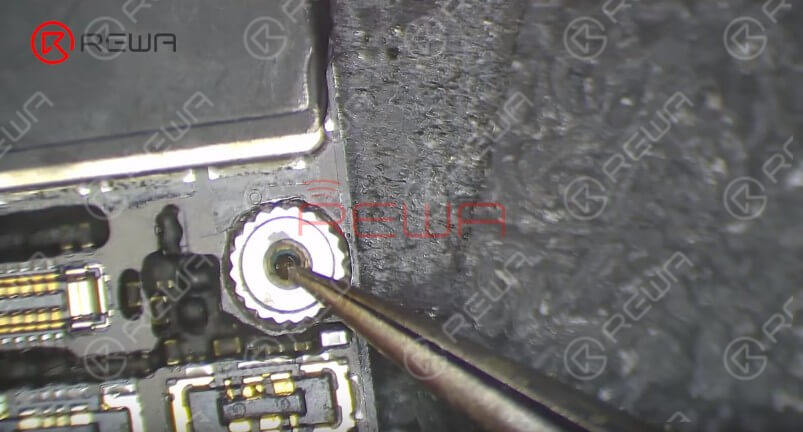
These evidences lead to the conclusion that a long screw was used by the last repair technician when reassembling the phone. What’s more, he applied too much force when fitting the screw into the screw hole and punched a hole in the upper layer.
The upper layer has been badly damaged and cannot be repaired anymore. We need to transplant CPU, EEPROM, and NAND on the upper layer onto a new upper layer.
Here we recommend using a specialized upper layer with CPU, EEPROM, and NAND previously removed.
iPhone X Board Swap
Remove NAND+CPU+EEPROM
Attach the damaged upper layer to the PCB Holder. Heat with the QUICK 861D Helical Wind Hot Air Gun at 280℃, air flow 45.
Remove black adhesive around the NAND.
Continue to heat the NAND with the hot air gun at 400℃, air flow 45 for about 30 seconds. Then pry up the NAND carefully.
Continue to detach CPU and EEPROM from the board.
iPhone X Board Swap
Clean CPU+NAND+EEPROM
Now we need to clean the three chips one by one.
Apply some medium-temp solder paste to the bonding pad of CPU. Clean the bonding pad with Soldering Iron at 365℃. Then heat with the QUICK 861D Helical Wind Hot Air Gun at 300℃, air flow 30 and remove black adhesive on the bonding pad with a specialized blade. And then clean the bonding pad with Solder Wick.
Once done, clean with the PCB Cleaner. Continue to clean NAND and EEPROM with the same steps.
iPhone X Board SwapReball CPU+NAND+EEPROM
Now we need to reball CPU, NAND, and EEPROM one by one.
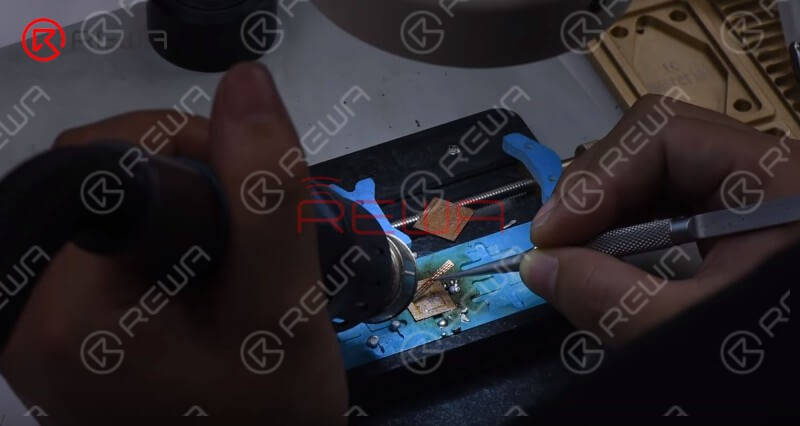
Let’s start with CPU. Get the BGA Reballing Stencil in position. Smear medium-temp solder paste evenly on the stencil with BGA Scraper and heat evenly with the QUICK 861D Helical Wind Hot Air Gun at 330℃ so that solder balls can shape successfully. Once completed, wait for 1 minute. Then separate CPU from the stencil.
Continue to reball NAND and EEPROM with the same steps.
iPhone X Board SwapSolder CPU+EEPROM+NAND
Now we need to solder the reballing finished CPU, EEPROM and NAND to the new upper layer one by one. Before soldering, we need to clean corresponding bonding pads on the new upper layer.
Apply some medium-temp solder paste to the bonding pad of CPU. Clean the bonding pad with Soldering Iron at 365℃.
Tips: be careful not to cause bridging of components around when cleaning the pad. We can also apply some paste flux during the cleaning for smooth operation.
Then clean the bonding pad thoroughly with Solder Wick. Once done, clean with PCB Cleaner. Continue to clean the bonding pad of NAND and the bonding pad of EEPROM with the same steps. Once done, we can move on to the soldering process.
Apply some paste flux to the bonding pad of NAND. Get NAND in the right position. Solder with the QUICK 861D Helical Wind Hot Air Gun at 365℃, air flow 45. Once done, continue to get CPU and EEPROM soldered onto their bonding pads.
Motherboard Test
Now we need to test the motherboard.
Attach the upper layer and the lower layer to the Test Fixture. Connect the upper layer and the lower layer with the display assembly. Connect the battery connector with the DC Power Supply. Get the motherboard powered on with tweezers. The phone turns on normally and can get access to the home screen.
Motherboard Recombining
Next thing we do is to solder the two layers together.
First, we need to reball the lower layer. Put the lower layer on the heating platform. Get the BGA Reballing Stencil in position and smear some low-temp solder paste on the stencil. Then remove the stencil carefully. Turn on the power switch of the heating platform. With solder balls shaping successfully, turn off the power switch and wait for 1 minute.
Continue to apply some BGA paste flux to the third space PCB. Get the upper layer in position. Turn on the power switch of the heating platform. With the upper layer sinking and paste flux flowing, continue heating for 1 minute.
Wait for the motherboard to cool down and then detach it from the platform.
Reassemble And Test
Now we can assemble the phone and test.
Get the motherboard and display assembly installed. Connect the battery and press power button. The phone turns on normally. Fault cleared.
Warm tips: get the phone full assembled after confirmation of fault clearance.
REWA LAB suggests that repair technicians keep a well-organized workspace and develop a good habit in their daily repair work. Follow operating procedures strictly and avoid unnecessary problems caused by carelessness.
Tools & Parts
You can also visit REWA Youtube Channel to check our video of iPhone X Won't Turn On By Board Swap.
RELATED POSTS:
iPhone X Touch Screen Not Working
iPhone X Keeps Restarting With Vertical Lines On The Screen
Fix iPhone XS Max Screen Flickering
iPhone XS Max Portrait Mode Not Working


No Comments
0
0
Share
Apr 23, 2021
ABOUT REWA
REWA is a world leading electronics repair business solutions provider who was founded in 2008 in HongKong. We are committed to delivering one-stop services covering Sourcing Solution, Technical Support Solution as well as Recycle & Resell Solution.


